Connect Stripe
This step allows Mabel to pull in information from Stripe.
Step 1: Connect to Stripe
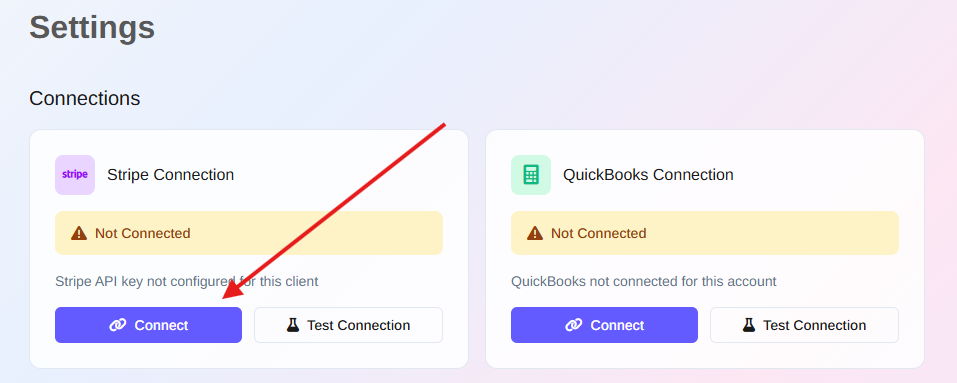
- From Mabel's left-hand sidebar, click Settings
-
From the Stripe Connection area, click "Connect"
-
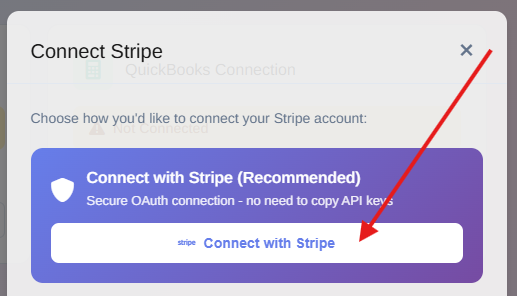
Click "Connect with Stripe"
A quick heads up
Before you're sent to Stripe, you'll see an "Important before continuing" message. Please read it. It's nothing scary! It just asks you to be mindful of the wording of a confirmation-type button in Stripe.
-
Click "Continue to Stripe"
Step 2: Allow connection
-
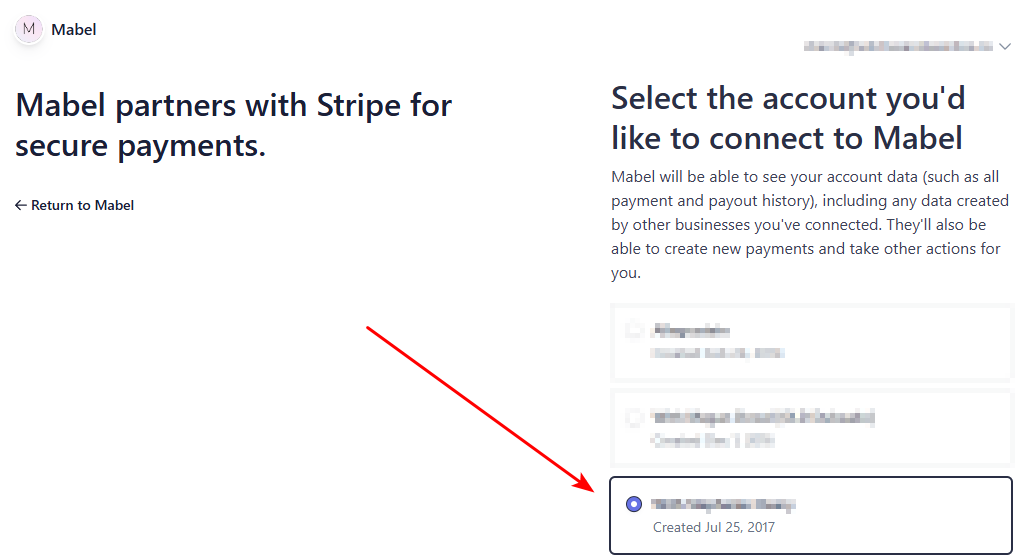
In the Stripe window that opens, select your Stripe account.
Note: if you have more than one Stripe account, choose your main account. Handling multiple Stripe accounts isn't supported yet, but it's on the way!
-
Scroll to the bottom of the page. If you see a purple "Connect" button, click it. You'll then be brought back to the settings page of Mabel.
-
If the purple button you see says "Create", don't click it. Simply click your brower's back button to return to Mabel. Then, use these instructions to connect to Stripe via an API key.
Note: If you happen to click "Create", it's not the end of the world. The only thing that happens is that you'll accidentally create a new Stripe account. If that occurs, here are instructions on how to delete the new account.
Important
We're in the process of applying for a "read-only" connection to Stripe for Mabel. Be assured that even though the screen says "They'll also be able to create new payments and take other actions for you", Mabel is a READ ONLY app. It won't take ANY action in your Stripe account.
Step 3: Test the connection
Back on the setting page of the Mabel app:
- In the Stripe connection area, click Test Connection to make sure everything is working
- If everything is working correctly, you’ll see a success message.
Your Stripe account is now connected.
👉 Next step: Connect QuickBooks